まずはマシンの作成を行います。
既にcentos64というマシンイメージを登録しております。
$ vagrant init centos64
続いてVagrantfileファイルを書き換えます。
config.vm.networkの項目を下記のように書き換えます。
config.vm.network "forwarded_port", guest: 80, host: 8080
vagrantを起動し、sshでログインします。
$ vagrant up
$ vagrant ssh
続いてapacheをインストールします。
なお、手元のマシンイメージ(centos6.4)は標準でapacheがインストールされていました。
# yum install httpd
続いてphpを新ストールします。
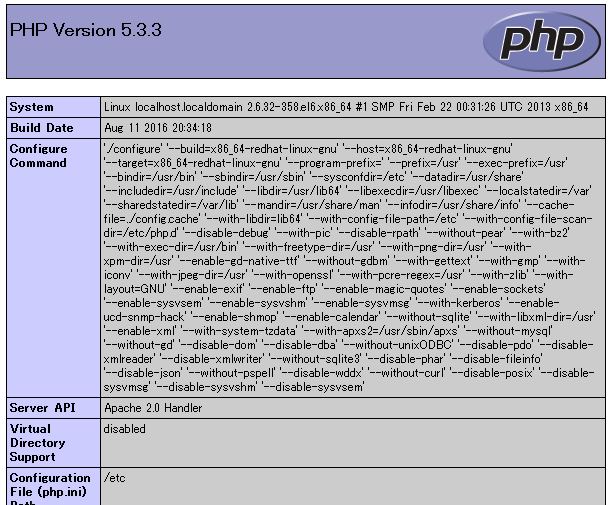
$ yum install php php-mbstring
$ php -v
  PHP 5.3.3 (cli) (built: Aug 11 2016 20:33:53)
  Copyright (c) 1997-2010 The PHP Group
  Zend Engine v2.3.0, Copyright (c) 1998-2010 Zend Technologies
ファイアウォールを停止します。
$ /etc/rc.d/init.d/iptables stop
$ chkconfig iptables off
開発しやすいようにapacheのRootを共有フォルダにします。
$ vi /etc/httpd/conf/httpd.conf
修正前)DocumentRoot “/var/www/html”
修正後)DocumentRoot “/vagrant/html”
※なお、vagrantのデフォルト設定で「/vagrant」を共有フォルダとしています。
apacheを起動します。
$ /etc/init.d/httpd start
apacheの自動起動設定をします。
$ chkconfig httpd on
確認用のphpファイルを配置します。
phpinfo.phpというファイルを/vagrant/html/の下に配置します。
ファイルの中身は次のように記述します。
<?php
phpinfo();
?>
これで下記のURLにアクセスするとPHPの情報が表示されます。
http://127.0.0.1:8080/phpinfo.php